MCHS Maker Lab

MCHS Maker Lab

Thursday, April 14, 2016

MCHS School Maker Faire 2016

On Monday, April 11th, students, faculty, and staff came together in the Library and Learning Commons to celebrate the inventive and creative projects by MCHS makers, designers, engineers, programmers, and artists for the 2nd annual MCHS School Maker Faire. 


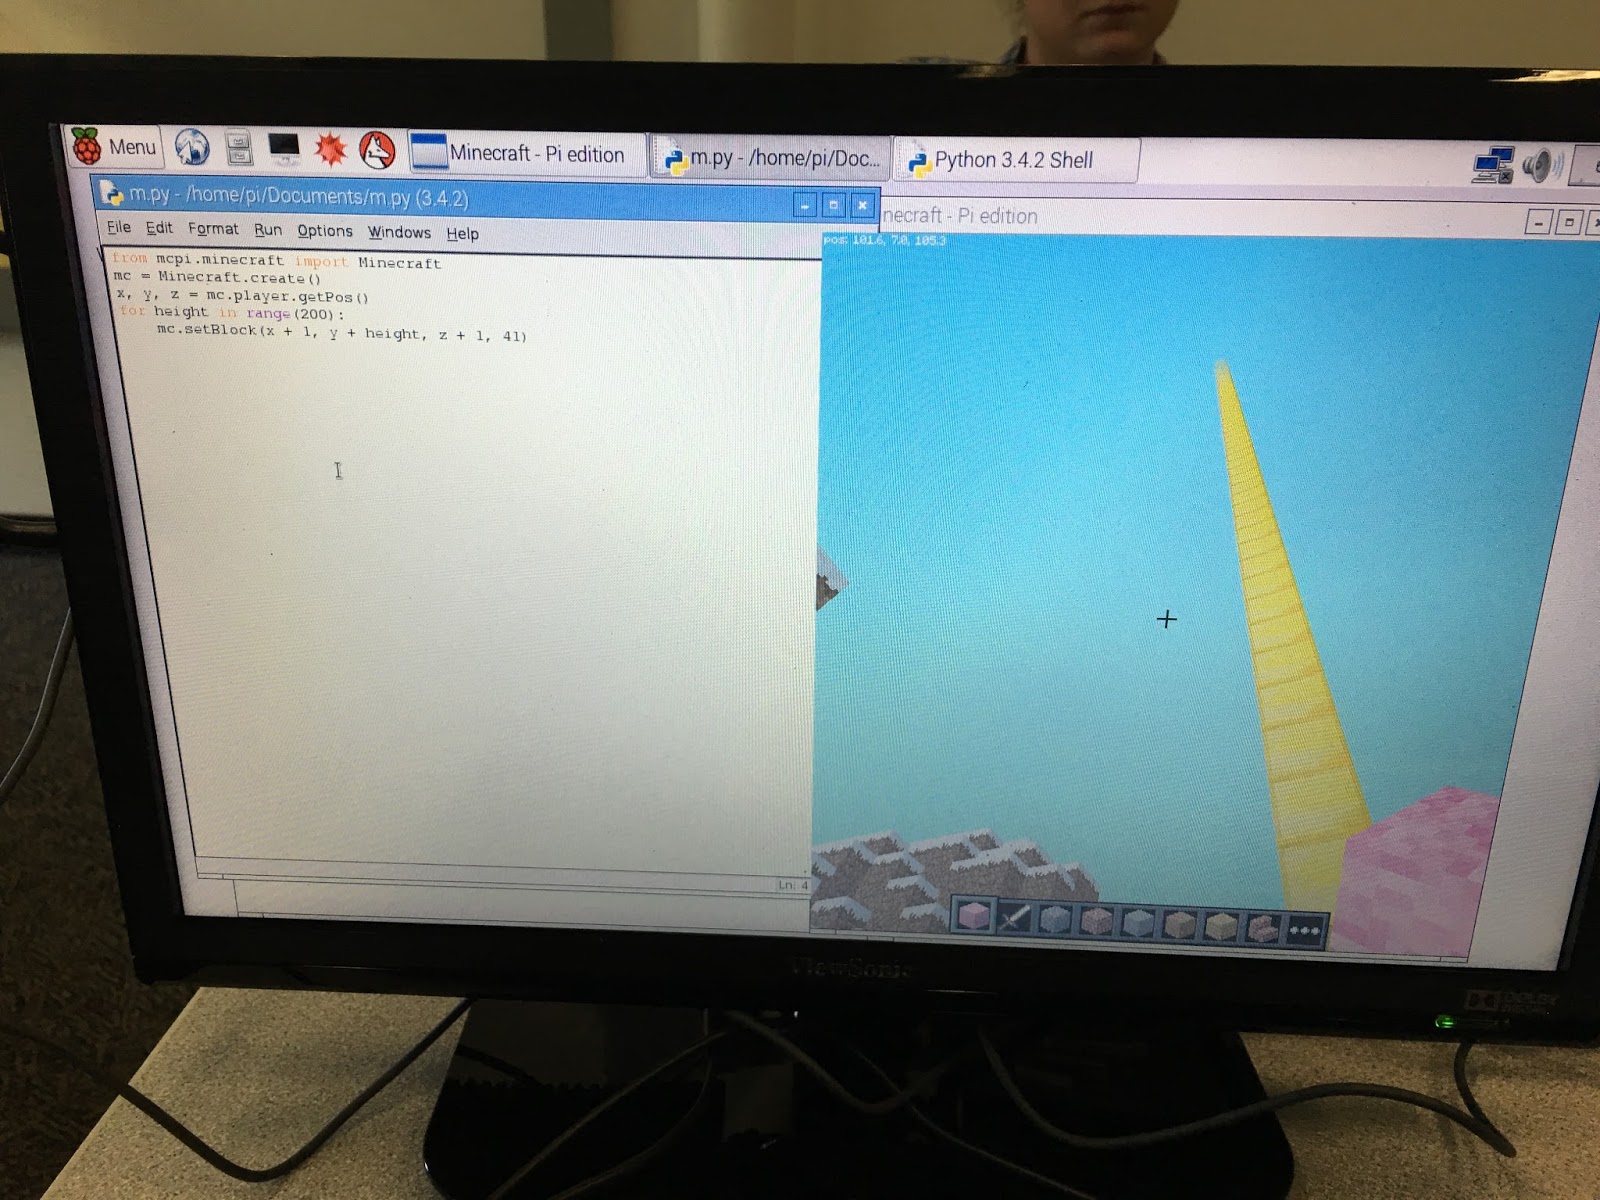
We had some great student and faculty projects lined up, both high tech and low tech,including designed objects, a Makey Makey floor piano, a custom-made videogame, a custom-built computer, musical floppy drives using an Arduino, anatomy in clay showcasing the cardiovascular system, knit clothing, crocheted toys and a checkerboard, a wreath, and minimalist art/low poly art. We also had our BioTech teacher on hand to show off the new BioPrinters the science department purchased.  She printed a bone made out of lotion and showed the students how to use the BioPrinter.
The BioPrinter


Student participants were really eager to show off their creations, particularly those that were personal projects. And it was really exciting to see the reactions from faculty and students attendees, some of whom had no idea that these students were doing these sorts of projects on their own time.  An art teacher had never seen the Photoshop work one of the students had done on his own; she commented that she would never have guessed he could do something like that.   We hope that it inspired them to bring their own ideas to life. 
Making music with floppy disk drives using an Arduino

Once they'd gone through the exhibits, students also made use of the Maker Playground, exploring the various activities: coloring, building with LEGOs and strawbees.

You can see photos of the entire event are available here 
Crocheted stuffed animals


Eager to check-out more Maker Faires before our third annual MCHS School Maker Faire next year? San Mateo hosts the Bay Area’s largest Maker Faire May 21-22, 2016. Check out the website here.

Happy Making!

Wednesday, March 2, 2016

Experiencing Picademy!

This past weekend I had the opportunity to attend the first ever Picademy held in the United States at the Computer History Museum in Mountain View.  I, along with 39 other educators from all over the United States spent two days working with Raspberry Pis: programming in Python and Scratch, using Minecraft, and working with electrical components such as LEDs, motors, and add-on boards like the Sense HAT and Explorer HAT.  At the end of it, we were all officially Raspberry Pi Certified Educators.  It was amazing (applications for the next Picademy at the Computer History Museum are open now)!

Everyone I talked to was shocked they had even been selected; I myself remember telling my coworkers that there was almost no chance, but I was going to apply anyways.  When I got the email that I had been selected, I was jumping up and down. Personally, I have used Raspberry Pis for projects and we also use it for our cataloging station, but because I'm a librarian and don't have access to a set group of students, I struggle getting them to do anything besides play Minecraft.  

Our docent in front of the machine on which she learned to program
I attending the reception on Friday, which not only gave us an opportunity to meet our classmates and instructors, but also to take a tour of the Computer History Museum (despite living in the Bay Area, I had never been there before).  The tour guide was a woman, who had learned to program on one of the machines on exhibit (and she was fabulous).  I loved seeing all the old machines, particularly those towards the end of the exhibit that were more familiar to me.  

Writing the code for the Sense HAT.
The next day and official start, we were split into groups and started learning about different projects we could do with Pi.  The Sense HAT was a lot of fun, and I loved how we started using paper and colored pencils to draw out our pattern, before moving into Python to actually code it.  The result was a pattern of colored lights that matched our drawing.  I definitely want to buy these for our students!


Turning on an LED light
We then got to play with the Explorer HAT, which allows you to add sensors and other components to the Raspberry Pi, much like you would with an Arduino.  I had never done anything like that before with it with the Pi, but we practiced turning LED lights on and with the Explorer HAT, controlled a motor.  We used both Python and Scratch for the programming. 


Programming in Python to build a tower in Minecraft.
Trying out the Pi Camera.
We then got to play with Minecraft on the Pis, which I had never done before.  I found moving around in the space a little challenging (as I did not grow up playing any sort of video games), but with a little guidance from my classmates I was able to follow along.  When I see students playing, I don't really see them coding with Python to build stuff, but I think it might be a way to reach the 9th graders that are still into Minecraft.  Unfortunately, our older students have informed me that Minecraft is too young for them.

We next got to try out the Pi Camera, which I had heard about, but never used before.  Just writing a few lines of code we were able to get it to take pictures.  I could see a lot of applications for using the Pi Camera within our library to both promote library services and the Raspberry Pi itself.  I also saw using it myself, and even bought one as soon as I got back from Picademy the next day ;-)
  
 We then starting brainstorming for our hackathon on the final day, which is how we would get our certificationI sometimes
All of our ideas!
have trouble coming up with projects like this that quickly, but I was able to write down a few possible ideas, including using the Sense Hat for an art project and making a security camera.  


The next day we started out with some presentations by people using Pi in interesting ways.  I was particularly impressed by the Pi a la Mode speaker, who was only a senior in high school, but spoke so eloquently about her efforts to bring computer science education to rural India, using Raspberry Pis.  We then went on another tour of the Computer History Museum that was focused on making connections between computers in the past with the present and bringing that into the curriculum.  

Our project Browse Bot
We then started our hackathon.  My original ideas was to make a device that would take pictures of the students holding books as they come up to the desk to check out books and then tweet it out.  But another librarian had an idea to use the Sense Hat to make a visual display of ebooks, which when shaken would display another book.  Advertising ebooks in the library (beyond online) is a big issue, because they aren't physical.  She thought and I agreed that this would be a fun way to browse through an ebook collectionOur biggest struggle was not having the skills at coding to even know how to start writing it, but with some significant help from one of our instructors, we were able to make it work.

Holding my certificate!
Before we knew it Picademy was over and it was time to receive our certificates. I didn't really want it to end: all that time to play around with the Raspberry Pi and learn about all the possibilities of what you can do with it, I just wanted to keep goingSomeone mentioned they wished this course was a week long, and I completely agree.  With more time, we could have gotten farther along on our projects (although I intend to keep working on it) and learned about even more things you do with a Raspberry Pi.  

Now that I'm back at work, I'm focusing on how I can take what I learned and get it to the students.  I'm going to incorporate into our Maker Lab summer camp program and am talking with our computer science teacher about ways we can introduce it either into classroom or to some of our coding clubs on campus.  I'm also looking forward to staying in touch through the forum and Google+ group with my fellow Picademy attendees to see what everyone is doing and get even more new ideas.

Happy Making! 

Tuesday, October 20, 2015

October's Guest Speakers

October provided a wealth of opportunities for students to learn more about making. In addition to the new Maker Playground activities, we hosted two guest speakers who shared their expertise with our community.

On October 9th, Chris Olsen spoke to students about his hobby bringing Halloween decorations to life using microcontrollers. Microcontrollers are powerful tools that combine electronics and simple programming to bring inanimate objects to life to both scare and entertain. Mr. Olsen discussed the uses of Microcontroller controlling lights, sound cards, servos, and pneumatic solenoid valves, as well as presenting examples of Basic stamp control routines for Halloween haunting applications.

 
Students enjoyed seeing the demonstrations and were excited to learn that Mr. Olsen’s house welcomes 200-300 trick or treaters every year. Clearly, he knows how to create a Halloween Haunt! We hope students are inspired to "make" using the microcontrollers available to them in the Maker Lab.

On October 19th, Peter White shared career advice for students interested in software engineering. To begin, he asked students to participate in a dot voting activity so he could identify what students were most interested in learning. A day-in-the-life of a software engineer was #1.

In addition to learning about day-to-day activities, students learned about the diverse employment opportunities available in the software engineering field and the pros and cons often affiliated with each. Most all students in attendance raised their hand when asked if they were planning to major in CS. In his slide deck, Mr. White provided a number of resources that are available (and mostly free!) to help students grow their programming skills. The Maker Lab has many opportunities to learn programming - check out the Maker Lab website or stop by to learn more!


Friday, September 11, 2015

Back-to-School Night

Because there is such a short amount of time between the end of the day and Back-to-School Night (about 3 hours), it has been a tradition at our school for dinner to be provided to teachers who stick around after school. Previously, these dinners have been held in the faculty lounge. This year we requested that dinner be provided in the Library and Learning Commons so teachers would have an opportunity to see our new Maker Playground (read more about the Playground in Ms. Simon's blog post) and get reacquainted with our space and library resources. 


We strategically placed the food and drinks in the back of the library and set-up tables in the center aisle so teachers would have to walk by the Maker Playground and through additional table stations. In addition to the Maker Playground stations, we also set-up tables in the center aisle to ensure teachers saw the equipment being used in the Maker Lab before eating. 

Although food was the priority, we did have teachers take notice of the stations in the center aisle, especially the “Light up Your Nametag” station and the “Makey Makey” station which used jello to play the Wack-A-Mole game and the “Learn to Crochet” station where Mrs. Stanton was demonstrating how to crochet a hat. 


We know Back-to-School Night is a busy day for teachers as they prepare to welcome parents to their classrooms so we were pleased with the fact that teachers were able to see some of the Maker Lab offerings on their way to dinner. We hope what they saw inspires them to return and encourage students to use the Maker Lab and Maker Playground, and hopefully make something on their own like what Mr. Shelley did the following day!


Tuesday, August 25, 2015

Introducing the new Maker Playground...

After spending months last year weeding our nonfiction collection and removing three shelves, we opened our brand new Maker Playground downstairs last week for the start of the school.


The idea was to create a space where students could just come to try out equipment, without having to go through additional steps, such as adding applications onto their computers or going through any instruction.  They could just come and use it.  We wanted to encourage those students, who weren't so comfortable trying the more complex equipment in our upstairs Maker Lab, to have a space in which to "play."  

The stations would rotate on a monthly basis.  For the first month, we showcased some of our new equipment.  The Leap Motion allows students to use gestures to control apps on a computer. 

  
Students were instantly engaged with the the sculpting app, other games, and even the basic Playground app provided.


Our next station is LittleBits, which allows students to create circuits by magnetically snapping power (blue), input (pink), and output (green) pieces together. 

This station was a lot of fun for adults too, as our new teachers and parent orientations showed.

We also offered an Origami station, where students were provided instructions to make simple animal faces, but could also make something more complex.


Our final station was a Take Apart Station, which was intended for students to take apart old and broken electronics for use in personal projects.  

And for some that was what they did.  Students took apart an old PC computer, intending to build their own, and others planned to use speakers as part of our Maker Lab Spirit Week Competition.


Unfortunately, others took "take apart" to mean destroy: they snapped circuit boards into pieces and eventually broke the glass on a scanner, which forced us to close our Take Apart Station, as it became a safety issue.  We learned a valuable lesson here, and we may bring the Take Apart Station back as a more guided activity the future.  For now we are replacing it with a Build with LEGOs station.

For now, we are happy to see the students using the space in their free time, and we hope they will be inspired to use our larger space upstairs as they get more comfortable working with our equipment.


Happy Making!