MCHS Maker Lab

MCHS Maker Lab

Friday, October 24, 2014

Spirit Week Maker Lab Competition

This week welcomed in a new addition to Spirit Week - the Spirit Week Maker Lab Competition! The focus was on Building Spirit and students could use anything in the Maker Lab to build the most creative and functional design representative of their class’ school spirit. The prize - 50 Spirit Week points to the winning class!

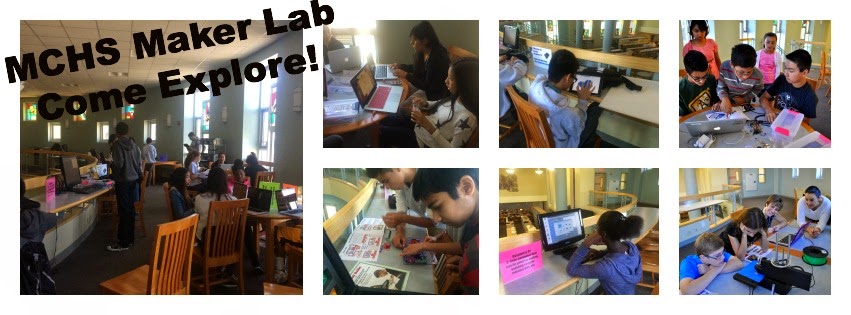
The lab area of the LLC transformed to accommodate each class’ work table and Maker Lab equipment was available for use on the center tables.

Captains for each class led the effort by encouraging participation, leading brainstorm sessions, and ensuring team members were aware of the design strategy day by day.


The final designs were innovative and clever. Here they are:

Class of 2017 - A circus complete with theme music played by a student using the Makey Makey, crocheted hearts, 3D designed and printed circus characters including an elephant and clown, a lego building, and a sewn pillow with "Cirque du Sophs" embroidered on the front. 


Class of 2016 - A video game programmed by students that begins on an airplane and then takes the player on a journey through each class year’s theme.


Class of 2015 - A twisting zombie robot programmed with the arduino, built using legos, and complete with red LED sewn-in eyes made possible by the lilipad.


Class of 2018 - a lego castle.

At 3pm on Thursday, the panel of judges (thank you Ms. Maniscalco, Mr. Shelley, Coach Greenbaum, and Mr. Tobler!!) listened to each class explain their design and afterwards selected the winner. 

And the winner was…. Class of 2017 followed by the classes of 2016, 2015 and 2018. Congratulations sophomores and great job to all participants!


Friday, October 17, 2014

Moving forward with 3D printing...

When we first looked into purchasing a 3D printer,  the price ($599) of the
Printrbot Simple Metal was really appealing.  With an initial Maker Lab budget of $2000, we could not afford the more pricier 3D printers.  However, upon receiving and using the Printrbot, it became clear it wasn't going to work for us.  It required too much set-up and calibration in order to use, and we were in constant contact with their tech support.

After the school year started, the Maker Lab received a lot of support from students, faculty, staff, and administration.  And when it became clear the Printrbot wasn't going to work out,  they awarded us student fundraiser money to purchase two MakerBot Replicators (5th generation) to further our Maker Lab plans.   As the person responsible for setting up, maintaining, and repairing the Printrbot over the last few months, no one was more happy than myself when our new 3D printers arrived.
Happy day!
When we had talked with the MakerBot salesman, I specifically asked how long it would take from unboxing to first print, and he said about 15 minutes.  Surprisingly, he was right!  Once you turn it on, it goes through steps to calibrate it, load the filament, and then do a test print.  It tells you exactly what to do step by step, and if you're a relative novice to 3D printing, you really appreciate it!
Some enthusiastic students watching the first print.
Although we haven't had the MakerBots that long, beyond the occasional filament jam, we have been pleased with our purchase.  The printers have been used constantly during the school day and even overnight, mostly for demoing purposes at this stage. We are working on our new certification process so students can start printing on their own (should be ready next week).  We printed some branding for the maker lab designed in Tinkercad:


 We also printed some items off of Thingiverse, including a filament spool holder, which was our first overnight print (took about 9 hours for each side) and a sleeping dog.


Filament spool holder
Sleeping dog


We have our first 3D Design instruction session over the next week with several Theology classes, who will be designing Holy Cross symbols and then printing them.  More on that to come...


Our MakerBots have increased interest in our Maker Lab.  However, we do want to make it clear, the Printrbot is not a bad 3D printer.   It's just more suited to someone that likes to tinker more with the mechanics and settings.   Our students/faculty/administration wanted a printer that just works with minimal effort and will allow students to meet assignment deadlines. Our experience so far with the MakerBot Replicator seems promising!

Happy Making!

Thursday, October 9, 2014

New Projects in the Maker Lab

We love Make magazine's Weekend Projects!  So many great ideas to use up in the Maker Lab.  It always starts out with a particular need or problem.  For example, our Maker Lab is located on the second floor of the Library and Learning Commons and even with the windows, there is almost no air circulation.  Our budget allowed us to purchase one fan, but that doesn't make much of a difference.  We found the PC Box Fan project, which students will be undertaking. 
 

Fortunately, we had some of the parts already so we won't have to spend too much to make it.  Saves us the cost of purchasing another fan!

Freshman Ryan L.'s keen interest in the 3D printer, our soldering equipment, and our broken Nooks has led to several projects, including this Weekend Project: Mini Fume Extractor.  Having spent a lot of time soldering, he informed us we would need better ventilation for the equipment.  The Mini Fume Extractor costs about $10 to make and will help protect students from the fumes from soldering.  


He also is working with our broken Nooks.  Over the course of several years, a few of our Nooks have stopped functioning for various reasons: won't charge, . He is hoping to fix them, but intends to re-purpose them if not.

Taking the Nook apart.
We have several other projects in the works, such as the Makey Makey: Floor Piano for our upcoming Open House.  Pictures coming soon.

Happy Making!

Friday, October 3, 2014

Making isn't always about technology

There has been interest in some of the non-tech aspects of our Maker Lab.  We originally started providing felt and fabric just to go along with our LilyPads, but many students expressed an interest in just having access to materials for sewing, knitting, and crocheting.  We started to think about how we could incorporate more crafting materials up in the space.  One of our team members brought in yarn one day and taught us to crochet.

A teacher showing off his first attempt at crocheting
We found this pattern to crochet a guinea pig.  This was a first attempt:

Chocolate-colored guinea pig with button eyes
We then made one and sewed on the LED lights for eyes with the conductive thread.  Some of students and faculty say it is creepy-looking, blue LEDs seemed like a better choice than red ones.

Multi-colored gpig with blue LED light eyes
All of this was so we could have samples for students to see the various crafting opportunities we will now be offering.  Students will be able to checkout crochet hooks, knitting needles and other supplies, as well as yarn which they will be able to keep.  We are also planning on 3D printing some of these supplies from patterns on Thingiverse.

Happy Making!